How to Make Your First Django App
You can also check the video where I’m explaining
Make a new folder I used a mkdir command for it
$ mkdir FirstApp
$ cd FirstApp
Make a virtual environment
( Only one command will work depending on your virtual environment version)
~/FirstApp$ python -m venv myvenv
or
~/FirstApp$ virtualenv venv
Activate virtual environment
~/FirstApp$ source venv/bin/activate
In windows
~/FirstApp$ .\venv\Scripts\activate
Install Django
(venv) ~/FirstApp$ pip install django
Make a new project in Django
mysite is project name
(venv) ~/FirstApp$ django-admin startproject mysite
Very basic common settings
Go to mysite/settings.py
# Allow all hosts or you can place any domain or ip there
#ex: 127.0.0.1
ALLOWED_HOSTS = ['*']#At bottom make a static directory at FirstApp Folder
STATIC_URL = '/static/'STATICFILES_DIRS = [
os.path.join(BASE_DIR, "static")
]STATIC_ROOT = os.path.join(BASE_DIR, 'staticfiles')
Create a sqlite database
(venv) ~/FirstApp$ python manage.py migrate
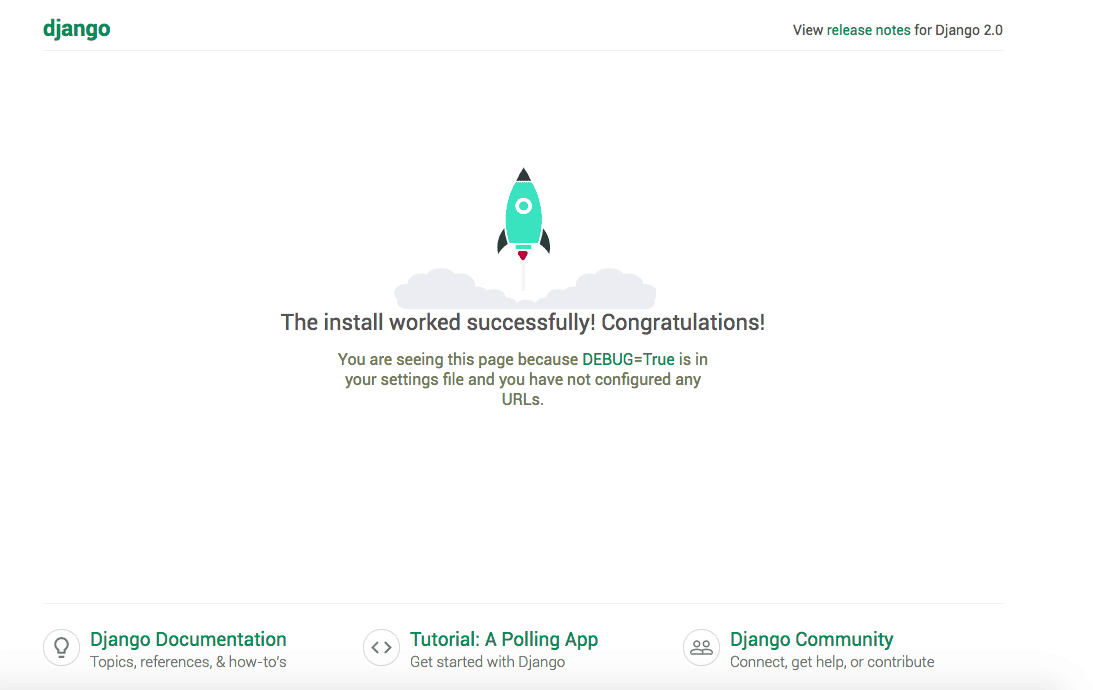
We can start the server now for testing
(venv) ~/FirstApp$ python manage.py runserver
You will see something like below image
Now we can create our first app
(venv)~/FirstApp$ python manage.py startapp app-name
Go to settings.py file and add contact to installed apps-
INSTALLED_APPS = [
'django.contrib.admin',
'django.contrib.auth',
'django.contrib.contenttypes',
'django.contrib.sessions',
'django.contrib.messages',
'django.contrib.staticfiles',
'app-name'
]
Creating a Model
Go to models.py file
from django.db import models
from django.utils import timezoneclass Client(models.Model):
    first_name = models.CharField(max_length=20)
    last_name = models.CharField(max_length=20)
    email = models.EmailField(max_length=250)

    def __str__(self):
        return self.email#if you want to return a full name use
    def publish(self):
        self.published_date = timezone.now()
        self.save()
    def full_name(self):
        return '{} {}'.format(self.first_name, self.last_name)
    def __str__(self):
        return self.full_name()
Update database
(venv)~/FirstApp$ python manage.py makemigrations
(venv)~/FirstApp$ python manage.py migrate
Register model with Django admin
Go to admin.py file
from .models import Client
admin.site.register(Client)
Create a superuser for admin access
$ python manage.py createsuperuser#enter your email and password to create a super user#you can login athttp://127.0.0.1:8000/admin
Setting up Django Url’s
Go to the project folder where settings.py exists
from django.contrib import admin
from django.urls import path
from django.conf.urls import include
urlpatterns = [
    path('admin/', admin.site.urls),
    path('', include('mysite.urls', namespace='mysite'))
]
Now go to the app folder where models.py exists(Make a new file urls.py)
#app/urls.py
from django.urls import path
from . import views
app_name = 'whatever your app name is'
urlpatterns = [
    path('', views.clientView, name='client_view'),
]#clientView is a function we will make in views.py
Now go to views.py in the same folder to make a clientView function
from django.shortcuts import render, get_object_or_404, redirect
from .models import Client#ClientView function
def clientView(request):
    clients = Client.objects.all().order_by('first_name')
    return render(request, 'client.html', {'clients': clients})
Now we can create a dynamic HTML template with Django
go to app folder where models.py exists then make a new folder named templates
Make a new HTML file there as mention in the view for example client.html
<!DOCTYPE html>
<html>
<head>
    <title>Client App</title>
</head>
<body>
  <div>
    {% for client in clients %}
    <ul>
        <li>Full Name: <a href="#">{{ client.first_name }} {{ client.last_name }}</a></li>
        <li><a href="#">Email: {{ client.email }}</a></li>
    </ul>
    {% endfor %}
</div>
</body>
</html>
With this, you can see all the model data on the homepage
http://127.0.0.1:8000/
